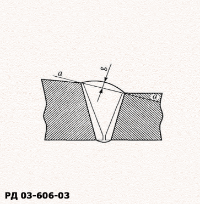
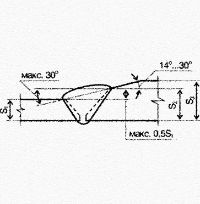
Measurement of the convexity (when welding elements of different thicknesses)
convexity when welding
elements of different thicknesses - is determined in the cross section of the welded joint as
the minimum distance from the surface of the deposited
metal on the line connecting the points corresponding to
the fusion boundary
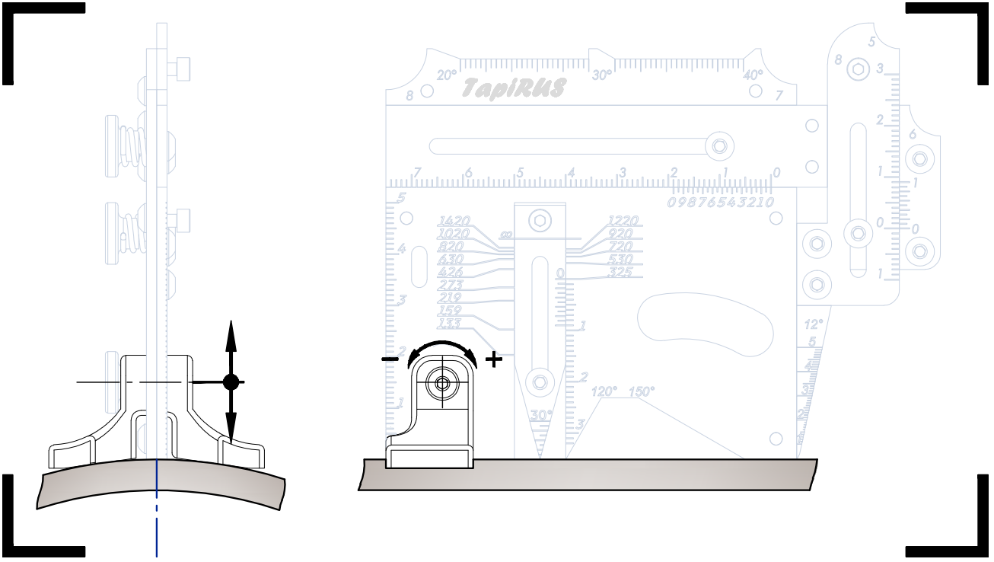
positioning the welding gauge
- Position the welding gauge on the thinner side which is perpendicular to the weld and also close to the fusion line.
- For greater stability of the welding gauge when taking measurements, use the pivots
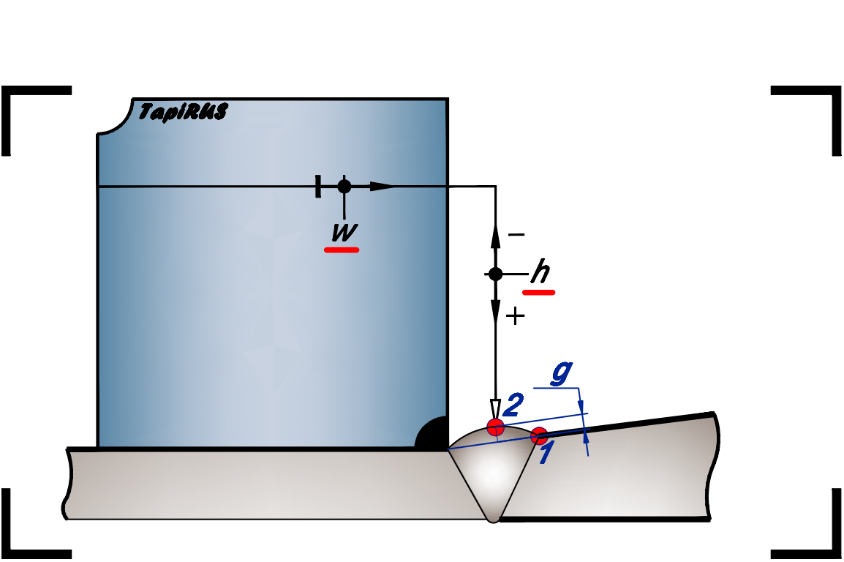
˟ the parameter measured during monitoring process is highlighted in red
measurement taking
- Adjust the linear member 3 so that the taper gauge 5 is above the point corresponding to the fusion line, lower the top High-Lo arm 4 until the taper gauge 5 makes contact with the surface of the welded joint.
- On the horizontal scale W, take the readings of the parameter w, and subsequently on the vertical scale H – take the readings the parameter h
- Move the linear member 3 so that the taper gauge 5 is above the highest point of reinforcement of the seam, lower the top High-Lo arm 4 until the taper gauge 5 makes contact with the surface of the weld joint.
- On the horizontal scale W, take the readings of the parameter w, on the vertical scale H - the parameter h
- To determine the desired parameter g illustrated by Figure

