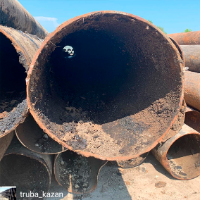
Measurement of the ovality of the pipes
Ovality - It’s a deviation from circularity of the pipe’s cross section, in
which the largest and smallest diameters are in mutual
perpendicular directions.
When using the welding gauge to determine the ovality it is
advisable to use it for diameters in the range of 133 to 273
mm

positioning the welding
- Before positioning the welding gauge, move the linear member 3 to a value of 50 mm and fix it in this position by tightening the fillet arm rivet 6.

˟ the parameter measured during the monitoring process is highlighted in red
measurement taking
- Position the welding gauge on the pipe section with the smallest surface curvature
- Continually pushing the fillet arm 2 and the top High-Lo arm 4 until it makes contact with the inspected object, find the position at which the values of the parameters h and k become equal.
- Take a reading of the parameter h – from the vertical scale H.
- Position the welding gauge on the pipe section rotated at 90⁰ relative to the original one.
- Furthermore without changing the position of the fillet arm 2, bring the top High-Lo arm 4 in touch with the inspected object.
- Take a reading of the parameter h - from the vertical scale H.
- To determine the measured parameter, use the calculator


 — Бесплатные Сайты и CRM.